CAD Lecture notes Thursday
What is cad software and why do we need it so much?
CAD stands for Computer aided design. It's one of the core programs used to make stuff. There are all sorts of flavours of cad software. Some are designed for general purpose design and some for industrial design.
Global things for 3D software
Using a mouse for 3D software is a necessity.
Blender
The first lecture was about blender.
Enable emulate numpad
To start off with
If you don't have a numpad you should enable emulate numpad in Edit > preferences > input
If you want to you can set other preferences that you'd maybe like
Shortcuts
Zoom: scroll mousewheel Orbit: Press mousewheel and move mouse Pan: Shift + press mouse wheel
It's recommended to keep default shortcuts
| Key | What does it do |
|---|---|
| T | Open Toolbar in 3D Window |
| Control + N | Create new file |
| G | Grab |
| R | Rotate |
| S | Scale |
| Shift + Right click | 3D cursor |
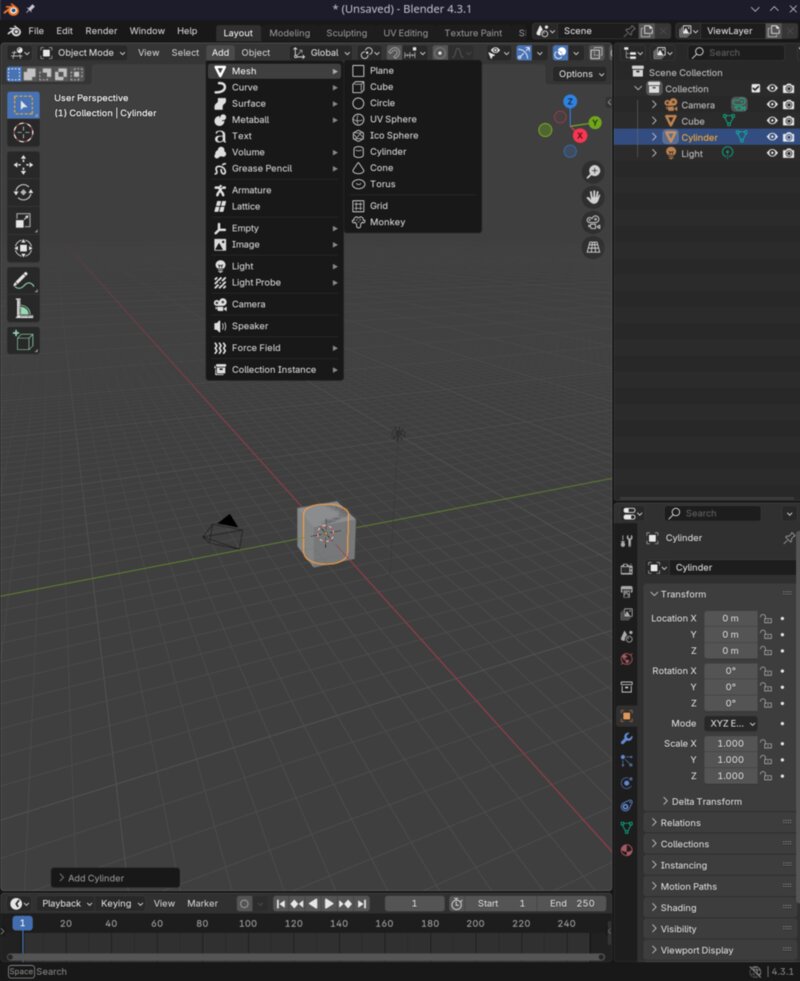
| Right click | Works the same as escape |
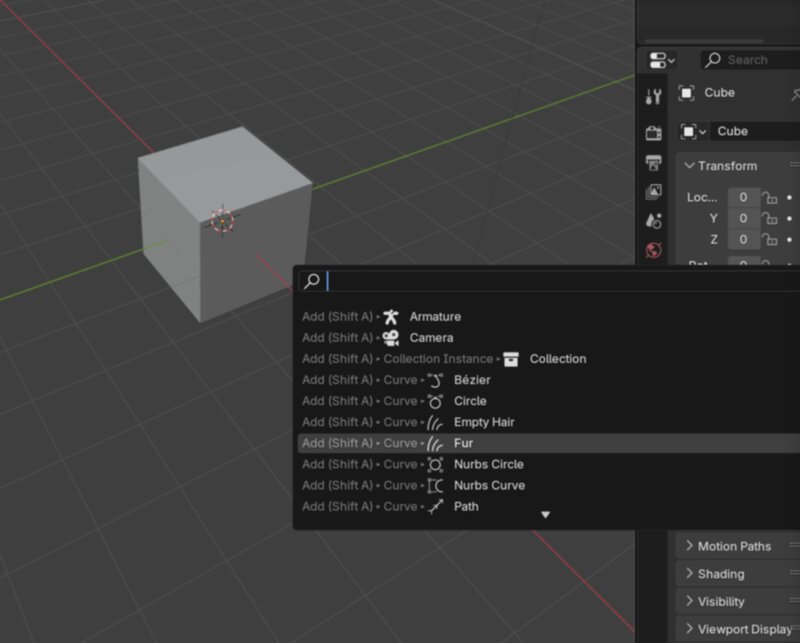
| Shift A | Add a mesh on your cursor |
| 1 | front view |
| 3 | side view |
| 7 | top view |
| S + Axis | Scale the object on that axis |
| G + Number | Move object that number of blocks |
| G + Axis | Only rotate on that axis |
| G + Axis + number | Move object on the axis for the amount of numbers |
| R + Axis + number | Rotate object on Number of degrees on the Axis |
| ALT + G | Clear location |
| ALT + S | Clear scale |
| ALT + R | Clear rotation |
| N | Transform menu |
| F3 | Look up shortcuts |
| S + Shift + Z | Scale in all axises except Z axis |
| Tab | Switch between Object and Edit mode |
| E | Extrude (Extrude can also be mixed with alot of other commands) |
| E + C | Free move Extrude |
| E + S | Makes the plane move inward or outward |
The 4 windows in blender
- top left: is the 3d view
- top right: is the objects the tree's of everything in the 3d view
- bottom right: buttons window
- bottom left:

Moving windows around
You can pull a window out of blender by grabbing it in the top right corner. To spawn a new window you can go into the Window tab and then select new window
Blender knows where your mouse is
Shortcuts are different when your mouse is in another window.
Building a monkey tower
Add a cylinder
Press Shift A to get a mesh menu on your 3d cursor. You can move the 3D cursor with Shift + Right click. Right after you add the mesh a small menu will appear. The menu will only appear one time.
Now make the create a monkey mesh and a Torus
Press 1, 3 and 7 to build the tower and use G to grab the objects.
When you press S you can scale the objects
All commands work sequential. You can press S and then X. Then only stuff works on the X axis
G + number move that amount of blocks
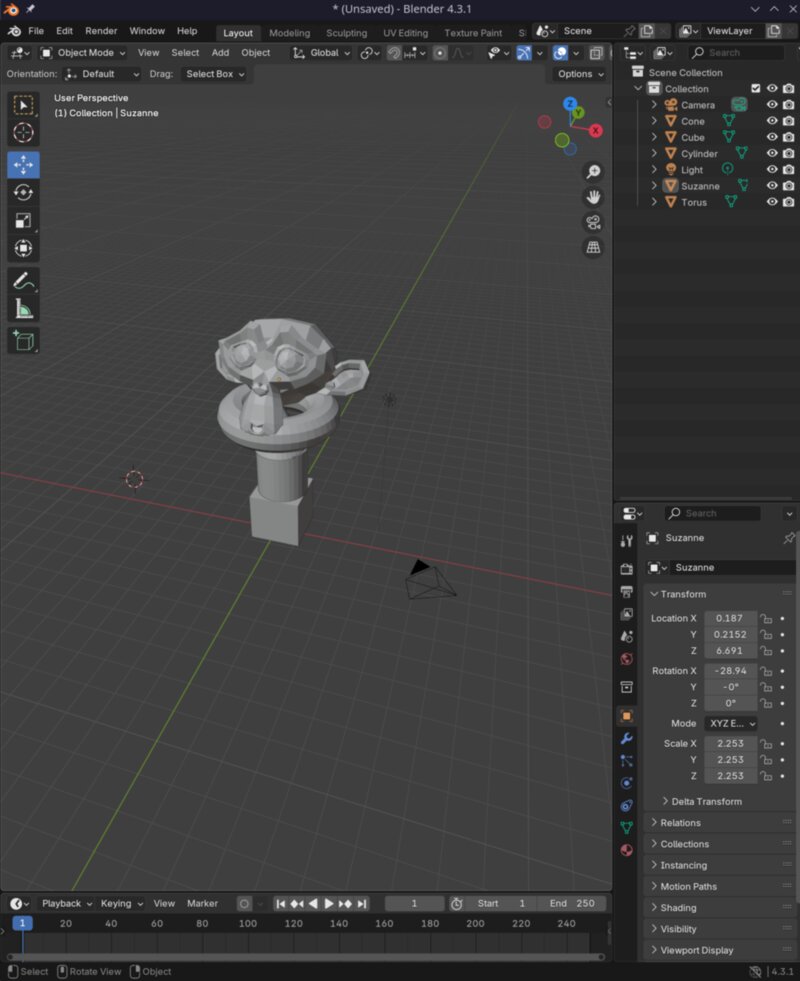
Pressing mouse wheelwill guess which axis you want to move an object in.
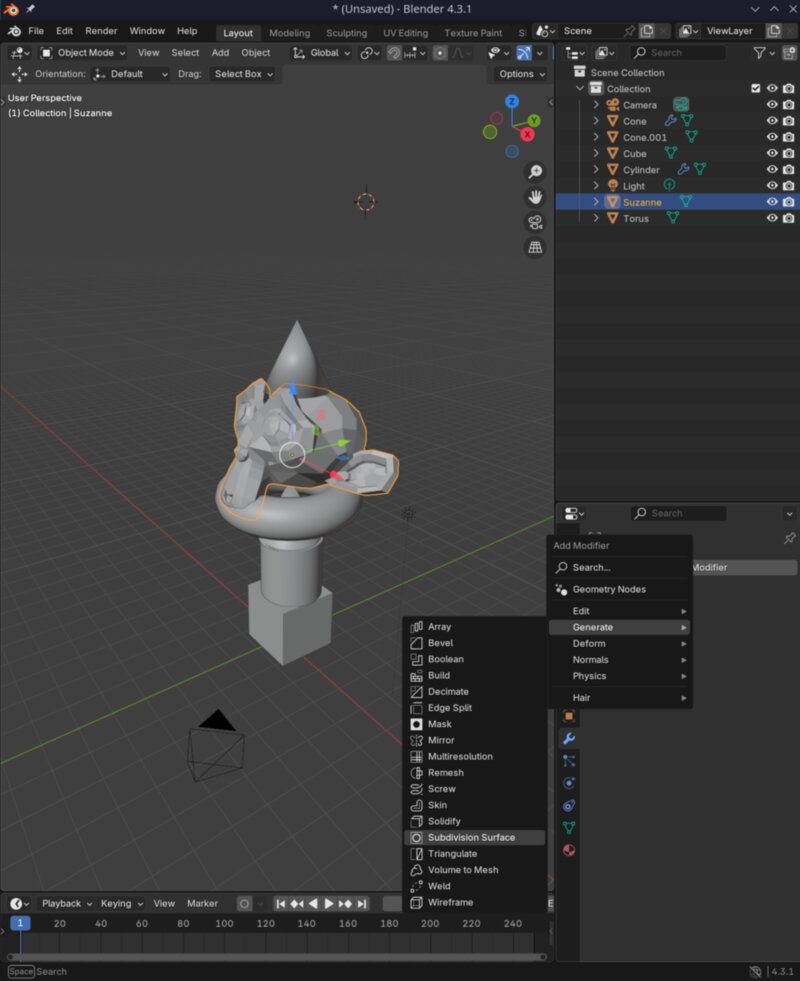
Modifiers
Modifiers can be applied on the bottom right corner of your screen. There you need to press on on the wrench. There you can add modifiers.
Subdivision modifier
Make the object smoother. Warning: Don't increase it too much because it will crash your pc.
Scenes
There are multiple scenes in blender that can be found in the top of your screen. Each screen has it's own tools and functionalities.
Precision
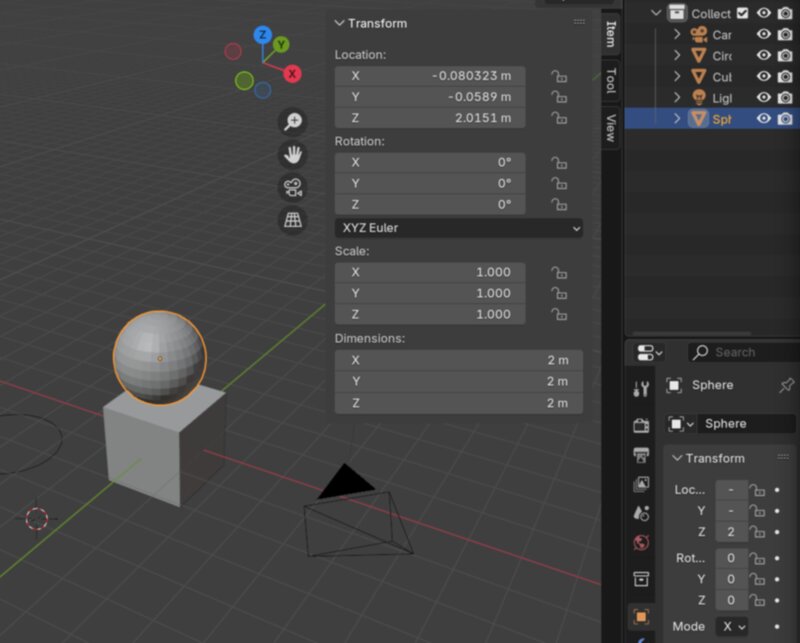
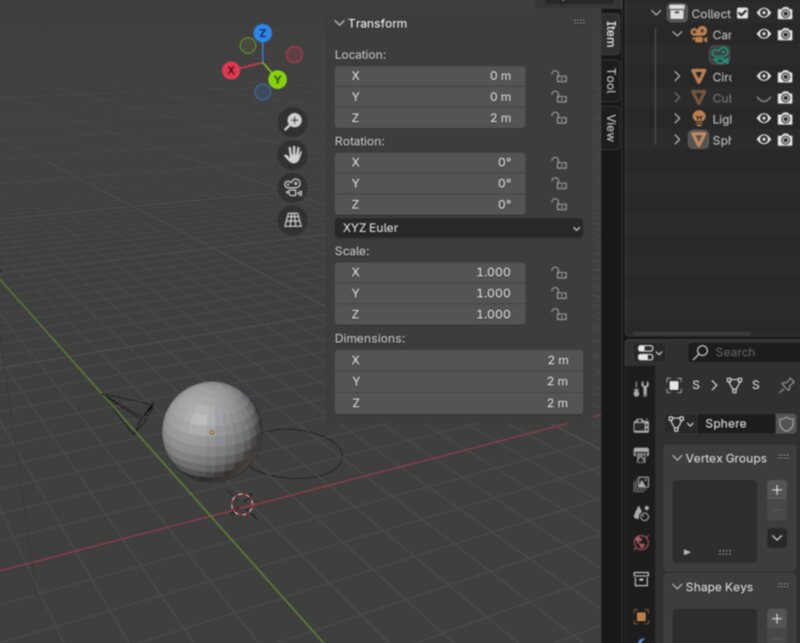
If you press N in blender you can open the Transform menu. Where you can precisely place objects.
Camera
If you press 0 you can see what the camera is seeing
Hiding objects
You can hide objects by pressing the eye in the top right menu.
Looking up keybinds
With F3 You can look up anything.
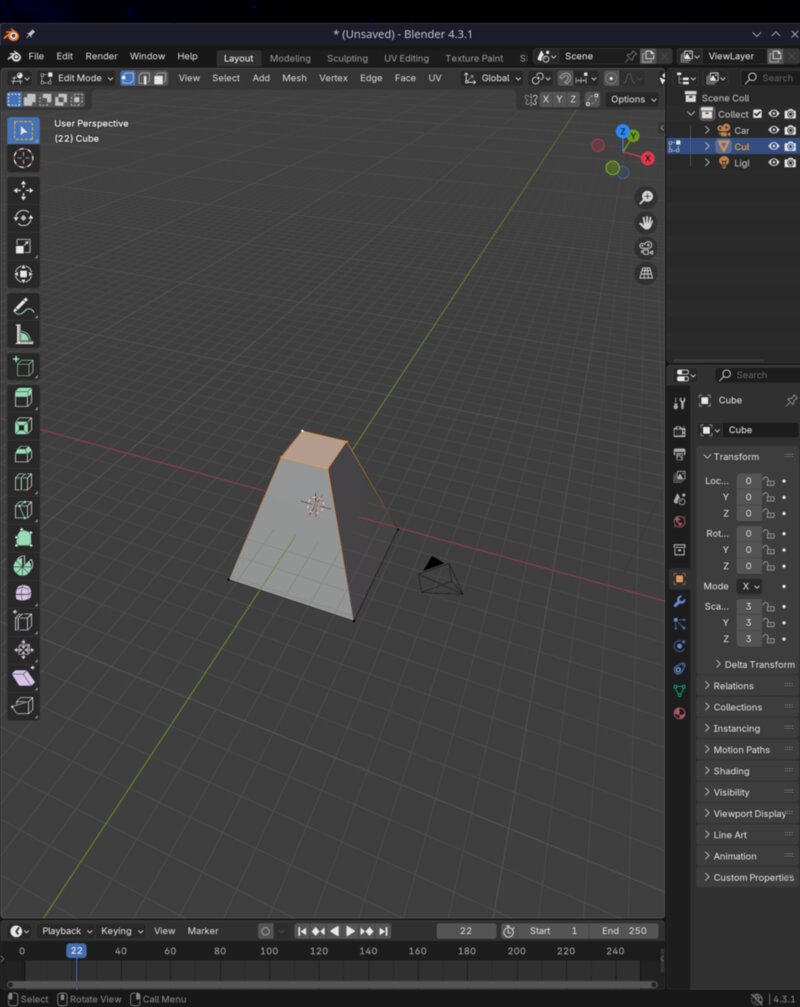
Edit mode
All the shortcuts work the same except now it works with points.
Select mode
Up here you can edit the select modes. You can select Points, Lines and Surfaces
Fusion 360
Intro
- Characteristics
- Engineering tool
- Surface modeler, Sheet metal and mesh available
- Great for working with assemblies and construction
- Very good at parametric design
- Lots of additional tools like machining, analysis and post processing
- Fusion can make gcode for machining
Managing projects
In the top right there is a project management tab where you can manage all your projects.  When you import parts from other files you can change the imported files and then you can update it in the other designs.
Don't forget to label your parts. Don't join everything into one body
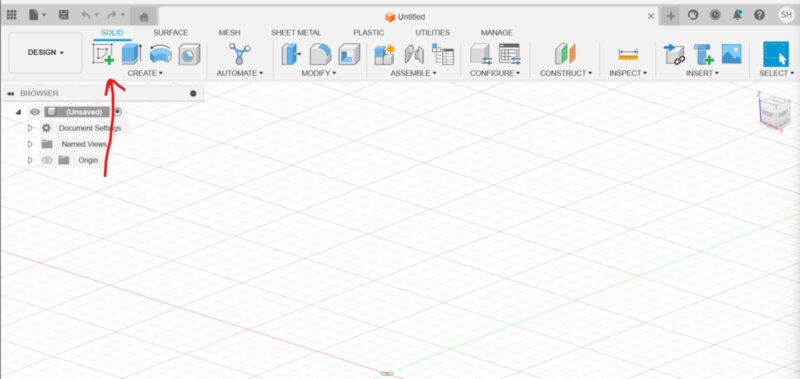
Modeling
Best way to start a design is to start with a sketch. After you've clicked the sketch button you can select a plane. The best plane to start with is the bottom plane
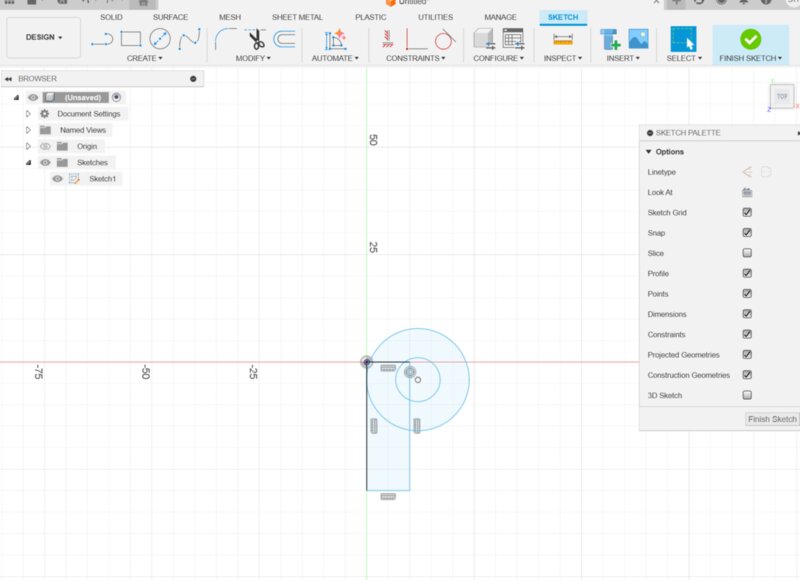
Sketches
When in sketch mode you can draw you design with the top buttons above create.
 Whenever you have a body you can also create a sketch on surface of that body to modify it even more.
Sketch dimensions
In sketch mode you can set dimensions for lines so they are locked to that size.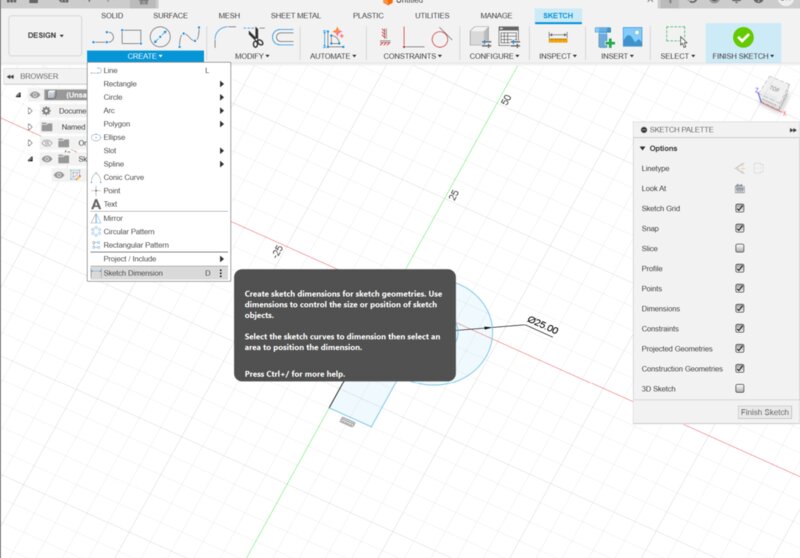
Extruding
When done with the sketch you can select all the surfaces you want to extrude and then press E to extrude. Within the extrude menu you can change what kind of operation you wanna do.
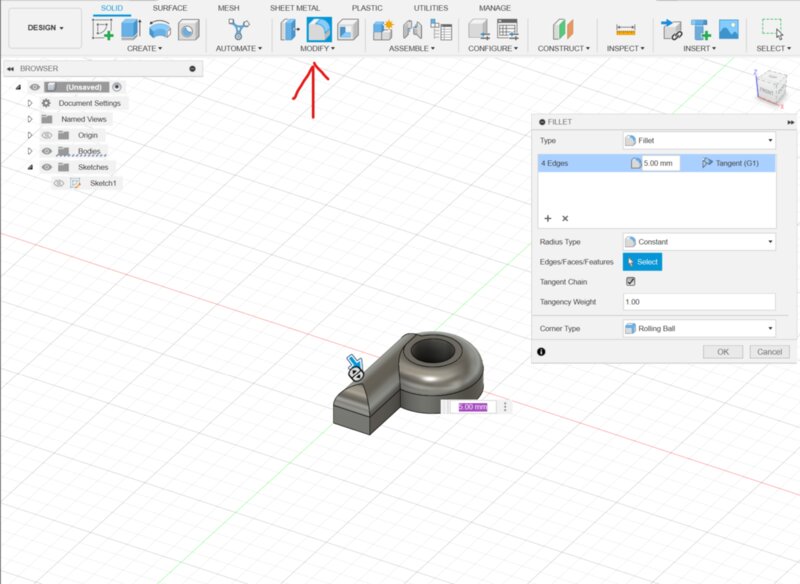
Filet
You can make corners smooth by using Filet on in the top menu of the screen when in solid edit mode. To Filet you need to select the corners of the body
Timeline
At the bottom you can see the Timeline. There you can see every action that you did and if you right click actions you can edit them or delete them and then that operation will be undone. If something breaks in the timeline you can right click it to re-define the faces or delete it because maybe it's not needed anymore.
Designing with parameters
Under the Modify tab you can open the parameter menu and then add parameters to the design
When you're in the parameter menu you can click the + icon and then add a parameter. The name is the parameter name and the expression is the value. 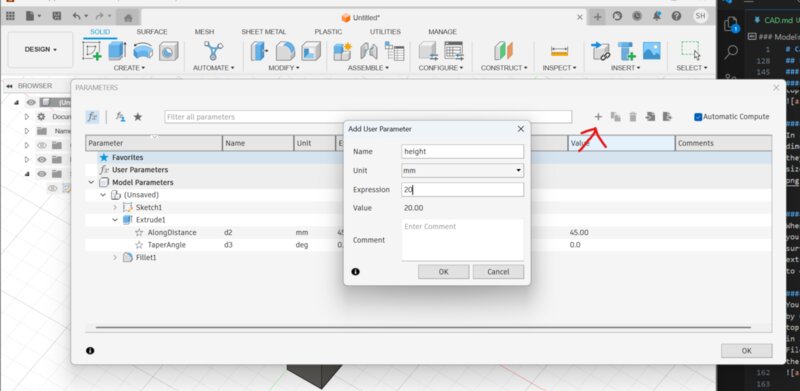
When you've added a parameter you can use that parameter instead of setting a value. You can also add calculations within expressions and values like this.
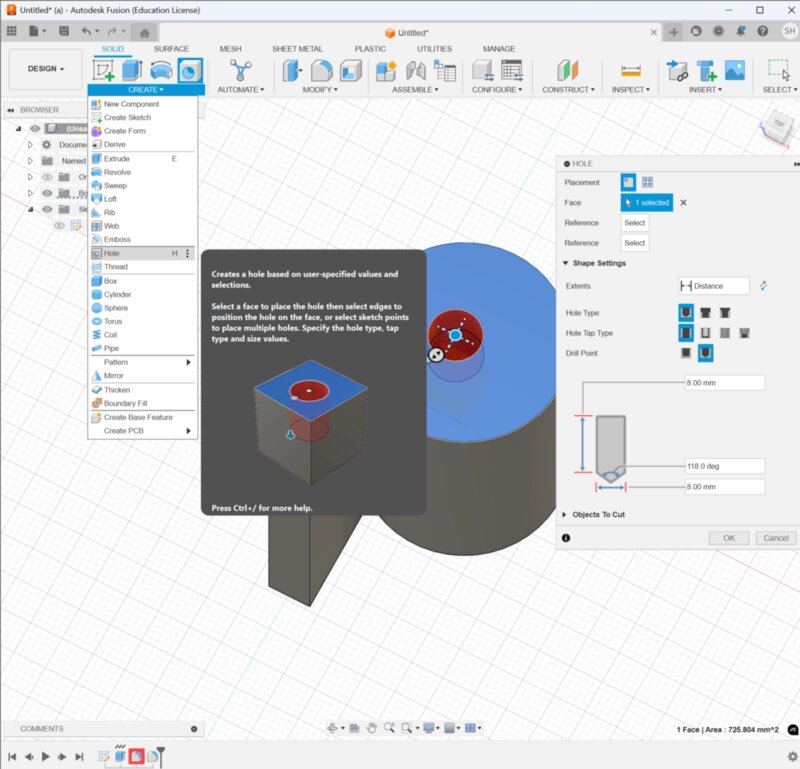
Creating a hole
You can create a hole by going to create and the Hole
In there you can define the hole.
Design principles
- List requirements
- List what everything does
- List how everything is connected
- List what everything does and what it needs to do
Inspect tool
You can inspect length and how big it is with the inspect tool. The inspect tool is found in the top menu. There is also a automatic inspect tool in the bottom right. If you select 2 edges or faces you can see the distance between them.
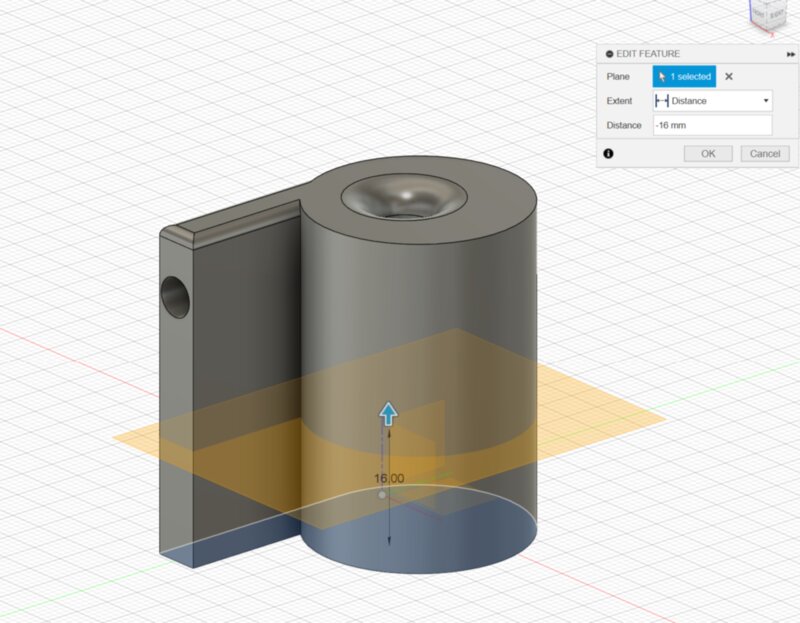
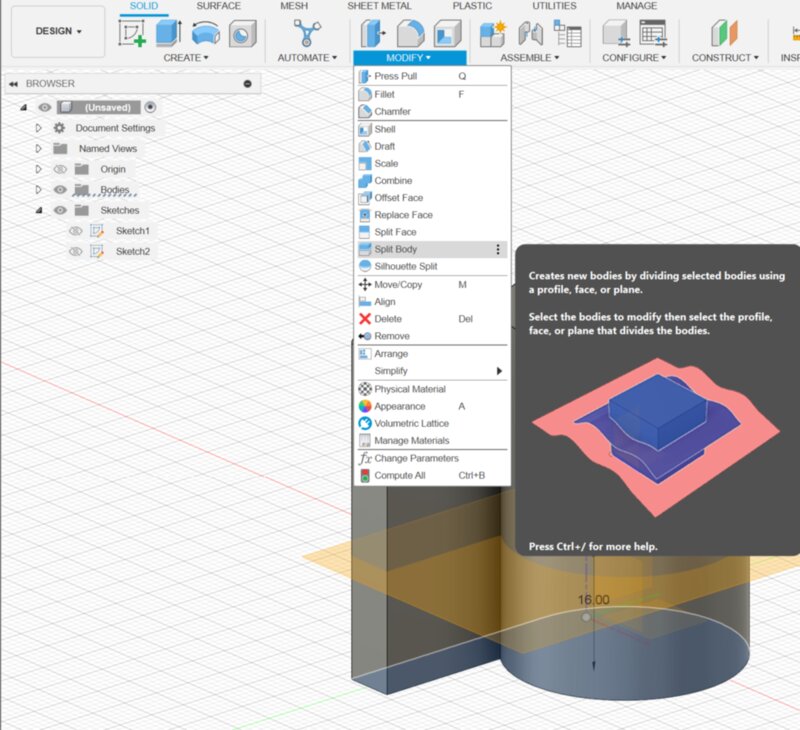
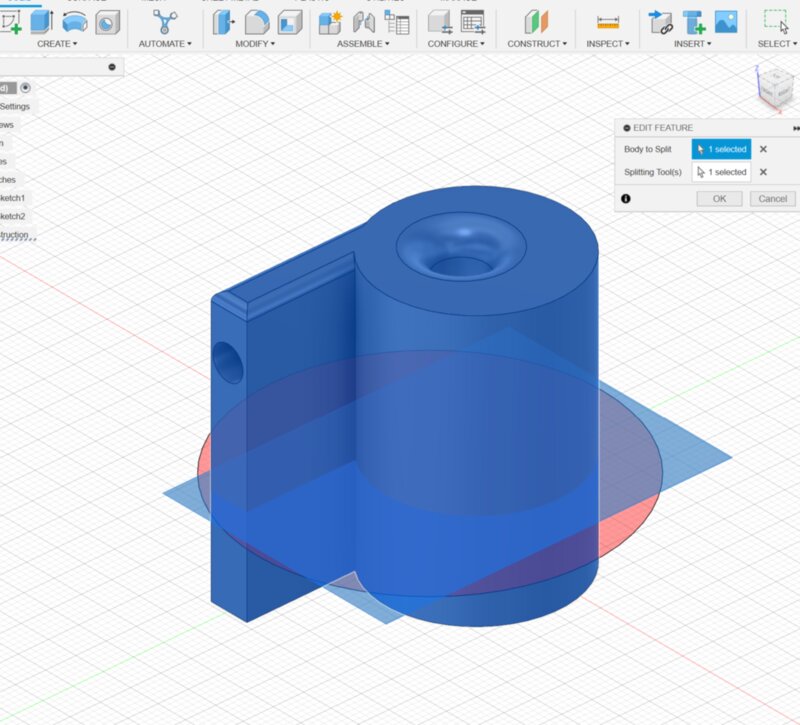
Offset plane
The offset plane can be used as a tool for other tools. For example you can place a offset plane and then do a split body using that plane as a reference.
Functional breakdown structure (FBS)
What your product has to do What (sub)functions you need fo that which functions can be combined and which not what requirements fo these functions are
Product breakdown structure (PBS)
- defining your product structure
- Defining the parts and (sub)systems you need
- the way the product should be build
- managing interfaces between parts
- defining specifications for the components
- finding the design strategy for parts assemblies
- making risk assessments (FMEA)
Work Breakdown Structure (FBS)
- Which activities you have to do
Designing
- Design on paper or get visuals of what you want.
- All 3D tools are different. Blender is useful for visualization, organic structures. Fusion is very much used for production environment and making solid models, assemblies, re-use parts in the structure.
- Which 3D tool you use is a personal preference.
Design strategy
- Example: if you want to make a hole in a part you can do that in different ways. Define the structure with a hole. Or drill it through the part. The sequence affects the way it behaves.
Freecad
You first need to create a body and a sketch
FreeCad library with parts. Freecad has build in CAM tools Importing SVG is difficult in freecad
CAM
Next week maybe.